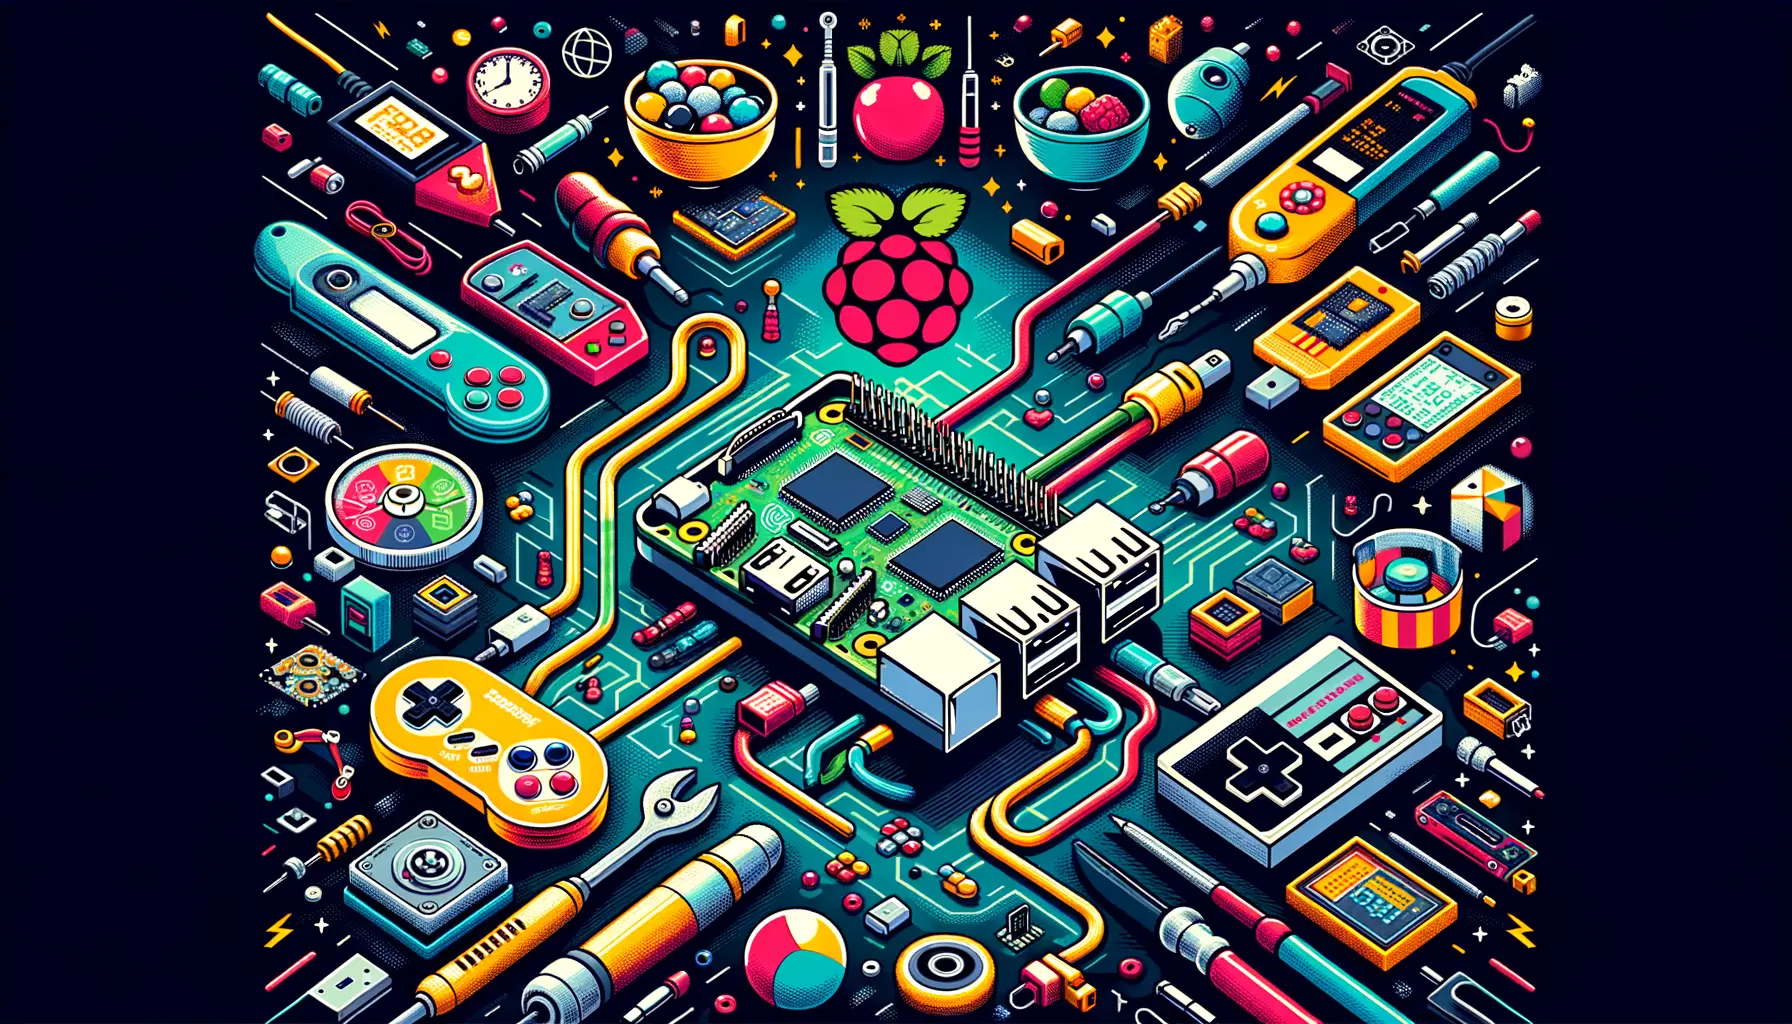
The Ultimate Guide to Building a Raspberry Pi Retro Game Console
Step into nostalgia with our simple guide on creating your very own Raspberry Pi retro game console, all without the need for Linux knowledge!
April 06, 2023 • 4 min read • Tutorials
Harnessing the power of the Raspberry Pi, we at Wiredinnovator have created an easy-to-follow guide so you can build a retro gaming machine in no time. Dive into the world of classic gaming with your custom-built console, starting now!
| Key Takeaways | |
|---|---|
| Installation Time | Less than 10 minutes |
| Retro Game Access | Immerse in classic titles with ease |
| Required Knowledge | Zero Linux expertise necessary |
| Emulator Ethics | Own physical copies of games when possible |
| Recommended Raspberry Pi Model | Model 3 for best game compatibility |
| Full Guides Provided | Step-by-step instructions in our article |
What You'll Reap from Your Raspberry Pi Setup
Your Raspberry Pi will automatically load EmulationStation: a user-friendly interface that allows you to choose your game without the hassle of a heavy-setup. Simple controller navigation? Check. Access to full media center software like Kodi? Absolutely. Your setup goes beyond gaming; it’s an all-encompassing entertainment hub. So, strap in for the ultimate retro adventure garnished with modern convenience.
Don't have a controller yet? No problem. We've got you covered with our list of the best retro gaming controllers to help you get started.
What You Need: A Snapshot
To craft your very own retro game console, you'll require several components.
- Raspberry Pi: A Pi 3 is ideal for seamless gaming and included Wi-Fi/Bluetooth.
- Micro USB power supply: For that much-needed power source.
- Micro SD card: 8GB should suffice to kick things off.
- USB Controllers: Enhance the experience with gamepads. We recommend the Buffalo Classic USB Gamepad.
- USB keyboard: For initial Wi-Fi setup – that’s it.
- Display setup: TV, monitor, and appropriate cables for crystal-clear gaming visuals.
- Primary Computer: To transfer your ROMs to the Pi with ease.

Retro Gaming Systems You Can Emulate
With the Raspberry Pi and RetroPie software, you can emulate a plethora of gaming systems. Here's just a glimpse:
- Amiga, Atari, Commodore, and Dreamcast
- Game Boy, Game Gear, GameCube
- Nintendo 64, PlayStation, Sega Genesis
- SNES, and even more obscure ones like the ZX Spectrum
Step One: Installation
It's as simple as downloading the RetroPie Project SD card image for your Pi model. Extract the image to your SD card, pop it into your Raspberry Pi, and the system takes care of the rest.
First-time Setup Table
| Step | Description |
|---|---|
| Download | Obtain the RetroPie Image for your Pi |
| Extract | Use Win32DiskImager or similar tool |
| Insert & Boot | Place SD in Pi and power on |
Step Two: EmulationStation Setup
Upon first boot, EmulationStation comes to life, prompting a quick controller setup. No hassle — no keyboard needed after this point. You're then free to navigate and manage your Raspberry Pi entirely via controller.
Essential Controller Shortcuts
Know these key combos:
- Select + Start: Gracefully exit games.
- Select + Shoulder Keys: Save or load your progress.
- Select + X: Delve into the RGUI menu.
Hot Key Table
| Combo | Action |
|---|---|
| Select + B | Reset current game |
| Select + Left | Cycle through save state slots |
| Select + X | Access RGUI Menu |
Connectivity: Wi-Fi and Bluetooth
For internet-connected services or updates:
- Connect Pi to a network.
- Access RetriPie settings, head to Wi-Fi settings, and add your network.
Step Three: ROMs Transfer
You own the ROMs, we provide the means. Use your home network to transfer game files directly to your Raspberry Pi. Alternatively, insert a USB drive with a retropie folder to effortlessly copy ROMs.
Easy Transfer Steps
- Confirm Pi is connected to your router.
- Access the RetroPie folder through your home network.
FAQs on RetroPi Retro Gaming
Q: Does RetroPie come with games? A: No, RetroPie facilitates playing games you own by emulating the original systems.
Q: Can I use my own controllers? A: Absolutely. RetroPie supports a variety of USB and Bluetooth controllers.
Decoding the Raspberry Pi Retro Gaming Experience
Embrace the nostalgia with your own retro game console. With our guidelines and RetroPie's intuitive setup, you're fewer than ten minutes away from game time.
In Conclusion:
- From Amiga to Zelda, your Raspberry Pi can handle it all. Why wait?
- A wealth of classic gaming awaits; the Raspberry Pi is your portal.

At Wiredinnovator, we're more than just tech enthusiasts; we're memory makers. Now go forth and rebuild the gaming legacy of yesteryears on your own terms!